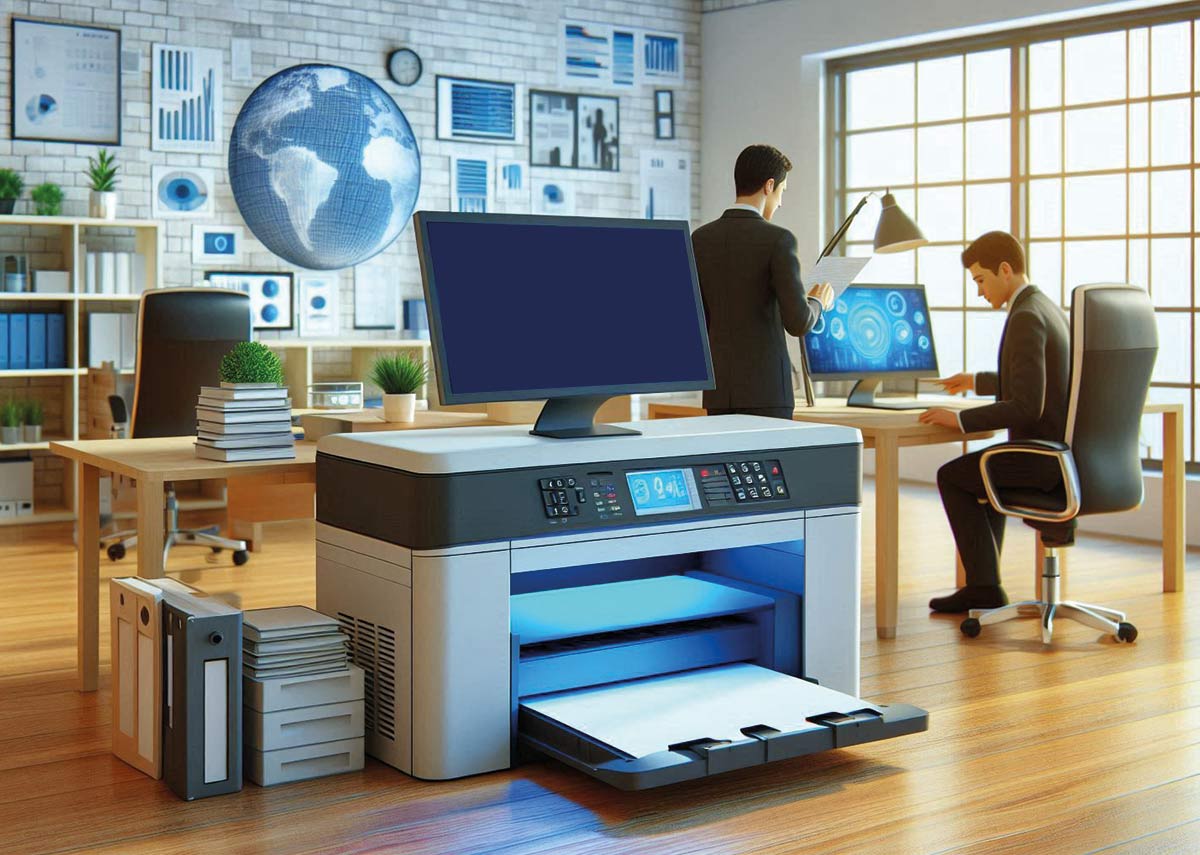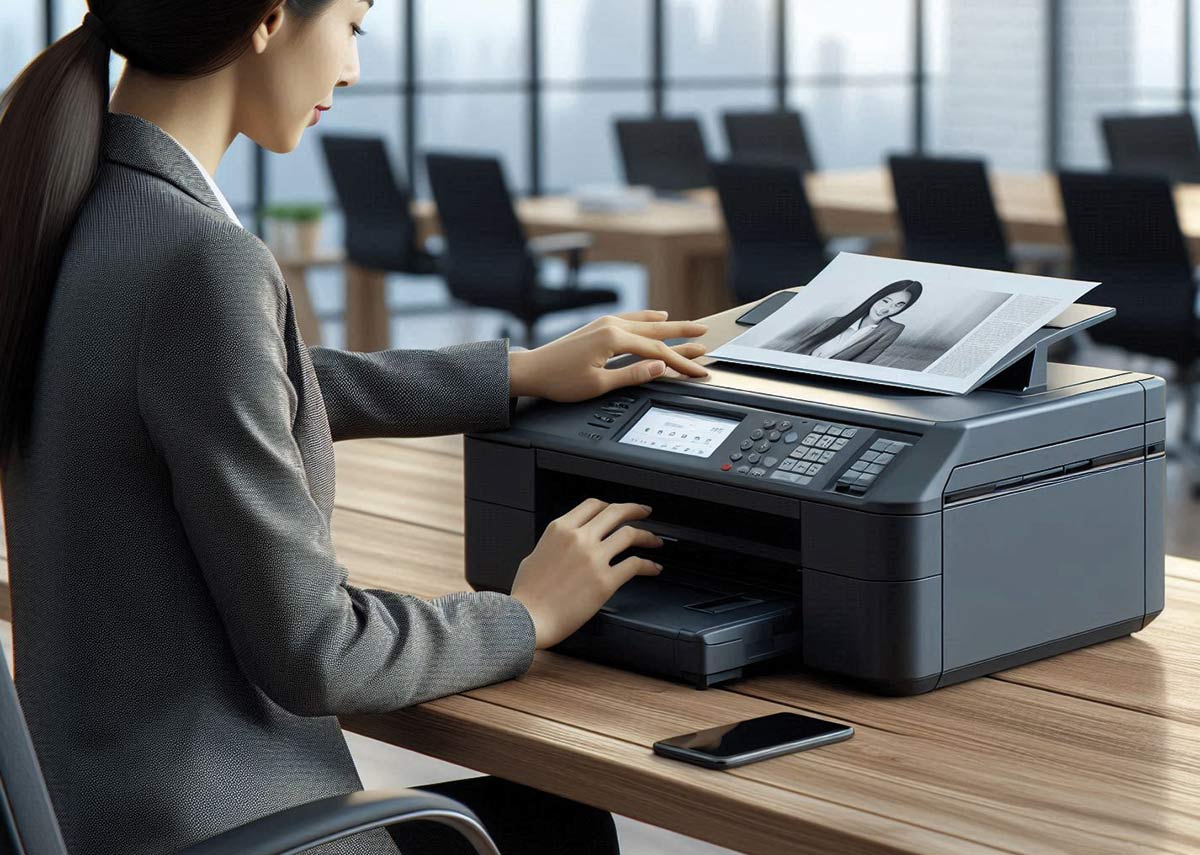
Smart printers have revolutionized how we handle printing tasks, bringing convenience and efficiency to our daily lives. Unlike traditional printers, smart printers offer advanced features such as wireless connectivity, mobile printing, and cloud integration, allowing you to print from virtually anywhere. If you’re new to smart printers and don’t know much about them, don’t worry! In this write-up, we’ll give you an overview of smart printers including the steps to set them up, tips to maintain them, and get the best printing results.
Benefits of Smart Printers

Setting up a smart printer can significantly enhance your productivity and offer several benefits. Below are some of the most common features a smart printer offers:
- Wireless Printing: Smart printers allow printing from your smartphone, tablet, or computer without needing physical connections.
- Enhanced Functionality: Smart printers come with advanced features like automatic document scanning and cloud printing.
- Convenience: Smart printers offer an easy setup and seamless integration with various devices and platforms.
These are some of the features a smart printer offers. However, to access these features, you first need to set up the smart printer. Many users don’t know the process to set up the smart printer. Below we have described the smart printer setup process in detail. So let’s take a look and set up your printer.
What You’ll Need to Set Up a Smart Printer
- Make sure it supports wireless connectivity and is compatible with your operating system.
- All the printer components, including power cord, paper tray, etc.
- Make sure you have an active internet connection to access the wireless and cloud features.
- Smartphone or Computer: For initial setup and configuration.
- Printer’s Manual: For specific instructions and troubleshooting.
- Manufacturer’s Software: Available for download from the printer manufacturer’s website.
Steps for Smart Printer Setup

1. Unboxing and Initial Setup
Unpacking Your Smart PrinterCarefully remove the printer from its packaging. Check for all included components, such as power cords, ink cartridges, and installation guides. Remove any protective tape and packaging materials.
Assembling the PrinterFollow the instructions in the manual to assemble your printer. Typically, this involves installing the ink cartridges and loading paper into the tray.
2. Connecting Your Smart Printer
Wired Connections: USB Setup- Plug in the USB Cable: Connect one end of the USB cable to the printer and the other end to your computer.
- Install Drivers: Follow the onscreen instructions to install the necessary drivers and software.
- Power on the Printer: Ensure it’s connected to a power source.
- Access WiFi Settings: On the printer’s control panel, navigate to the WiFi settings.
- Select Your Network: Choose your WiFi network and enter the password.
- Connect: Confirm the connection and wait for the printer to connect to your network.
- Enable Bluetooth on Your Printer: Access the Bluetooth settings on your printer.
- Pair with Device: On your computer or mobile device, search for available Bluetooth devices and select your printer.
- Complete Pairing: Follow any additional prompts to complete the pairing process.
3. Installing Printer Drivers and Software
Downloading Drivers from the Manufacturer’s Website- Visit the Manufacturer’s Website: Go to the support section.
- Search for Your Printer Model: Locate the drivers specific to your printer model.
- Download the Driver: Choose the correct operating system and download the driver.
- Windows: Run the downloaded file and follow the installation wizard.
- macOS: Open the downloaded file and drag the printer icon to the Applications folder.
4. Configuring Printer Settings
Basic Configuration- Set Up Language and Region: Follow prompts on the printer’s control panel.
- Configure Paper Size and Type: Adjust settings based on the paper you’re using.
- Network Settings: Ensure the printer is connected to the correct network.
- Printer Preferences: Customize settings such as print quality and default paper size.
Access the printer settings through your computer or mobile app to set preferences like default printer, paper type, and print quality.
Connecting to Mobile Devices

Installing Printer Apps
- Download the App: Find the manufacturer’s app on your device’s app store.
- Install and Open: Follow the onscreen instructions to complete the setup.
Setting Up Mobile Printing (iOS and Android)
- Connect to Printer: Open the app and connect your mobile device to the printer.
- Print: Select documents or photos to print directly from your mobile device.
Troubleshooting Mobile Printing Issues
- Check Connectivity: Ensure both the printer and mobile device are connected to the same network.
- Update App: Make sure you have the latest version of the printer app.
Testing Your Printer

- Access Printer Settings: On your computer or through the printer app.
- Select Test Print: Choose the option to print a test page and check for any issues.
Follow the printer’s instructions to calibrate and align the print heads for optimal print quality.
Ensuring Print QualityCheck print quality by examining test prints. Adjust settings if necessary to resolve any issues.
Troubleshooting Common Issues
Connection Problems- Check Network: Ensure the printer is connected to the correct WiFi network.
- Restart Devices: Restart both the printer and your computer or mobile device.
- Check Ink Levels: Replace cartridges if needed.
- Clean Print Heads: Follow the manufacturer’s instructions for cleaning.
- Reinstall Drivers: Uninstall and reinstall the printer drivers.
- Update Software: Ensure you’re using the latest version of the printer software.
Maintaining Your Smart Printer
Regular Maintenance Tips- Clean Regularly: Keep the printer clean to avoid dust and debris affecting performance.
- Replace Consumables: Replace ink cartridges and paper as needed.
- Check the manufacturer’s website or printer app for firmware updates to ensure your printer has the latest features and improvements.
- Regularly clean the printer’s exterior and interior components. Replace ink cartridges and other consumables as needed to maintain print quality.
Conclusion
Setting up a smart printer involves unboxing, connecting, installing drivers, and configuring settings. By following these steps, you’ll enjoy the convenience and functionality of your new smart printer. If you don’t want any hassle, contact us. We'll help you with setting up your smart printer without any hassle. Our experts have helped over thousands of users to set up their printer or resolve issues.
FAQs
A: Consult the printer’s manual for specific reset instructions, usually found in the settings menu. You can also contact us and we’ll help you with all your queries.
A: Ensure the printer is within range of your WiFi network and restart both the printer and router. Reconfigure the WiFi settings on the printer if necessary.
A: Install the printer’s mobile app, connect your phone to the printer, and select the document or photo you want to print.